DoorMaster User Guide
The Door Picker command icon is located on the Home tab and can be used as an alternative to using the 4-way drop list in Door Selection. Simply use the corresponding command button to turn its visibility On/Off. It can be resized and/or set as Floating or Docking.

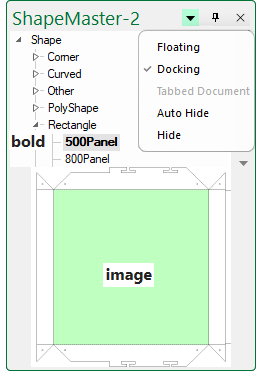
The picker is displayed in a tree view, where 'Subtrees' can be opened and closed. 'Subtrees' are arranged...
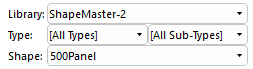
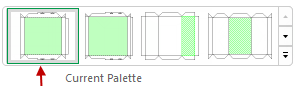
When you click on a door name, it selects that door into the Tool and displays an image of it at the bottom of the picker. This makes the door selection...
The default position is on the left in Docking mode but you can Auto Hide (in Docking mode) or Float (useful with multiple screens).
The selected door/item can be customised before placement by :-
The Property Sheet will display with a blue background and all future placements of this door will retain your changes.
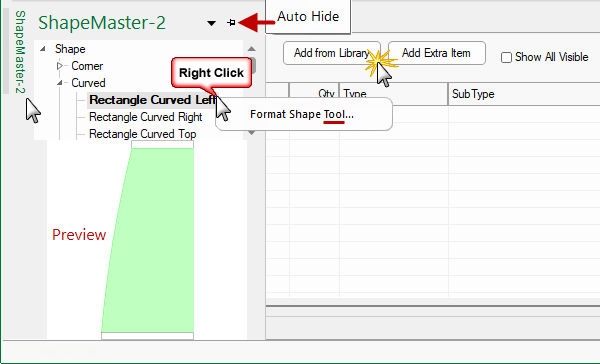
Click to Expand
When customisation is completed, just click on the Add from Library button to place in the List.