DoorMaster User Guide
The My Setup > Auto Labelling page of the Catalog/Drawing Properties is where you can set the size and position of labels that you require to be attached to individual door parts.
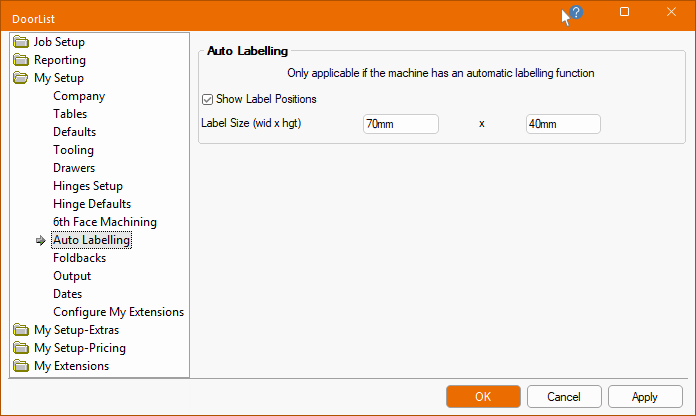
When the Show Label Positions check box is ticked, it allows you to customise Label Size and have them visible when viewing a part's machining.
Also, it will make the Auto Labelling page at door level, discussed below, available. This enables you to customise the postion of the label for individual doors.
At Door level on the Tooling and Definition > Auto Labelling page is only made available if the Show Label Positions option is enabled in the Drawing Properties.
At Door level on the Tooling and Definition > Auto Labelling page, select a label position using the applicable radio button.
In the following example, the label is set to be placed in the middle (top) as shown in the preview pane.
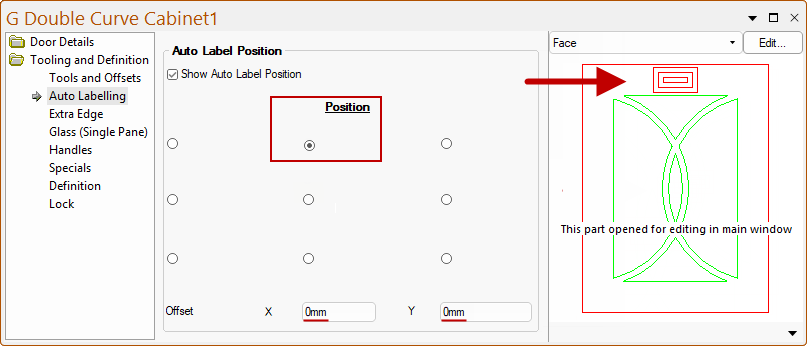
DoorMaster places the label in the middle of the 'Border' area then offsets it from there.
The reason is to try and keep it away from the door pattern - especially if that is either pocketed or cut all the way through the door (e.g. with glass). Auto labelling on a flatbed is done before the sheet is cut. So if the label is in the middle of an area that is cut out or routed then it will be destroyed.
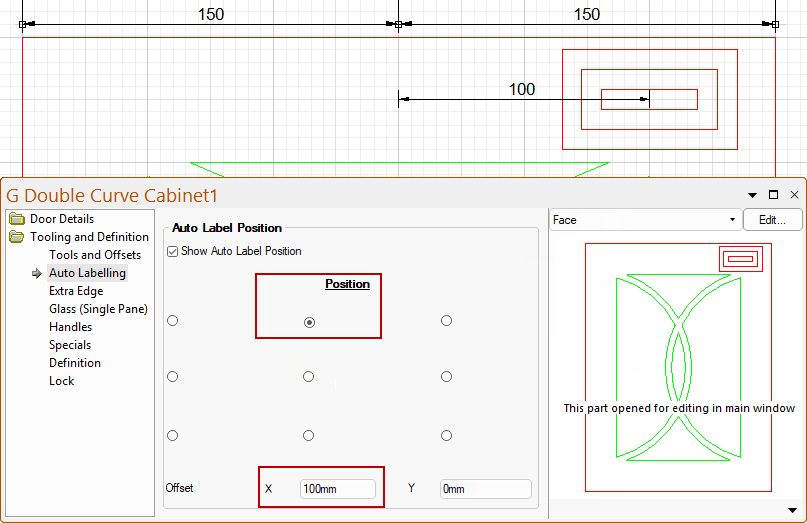
You can enter an X and Y position to offset the label from the chosen position, measured from the 'Border' area to the center of the label.
In this example, the label was initially positioned to middle (top), as shown above. Then Offset in the +ve X direction i.e. moved to the right.
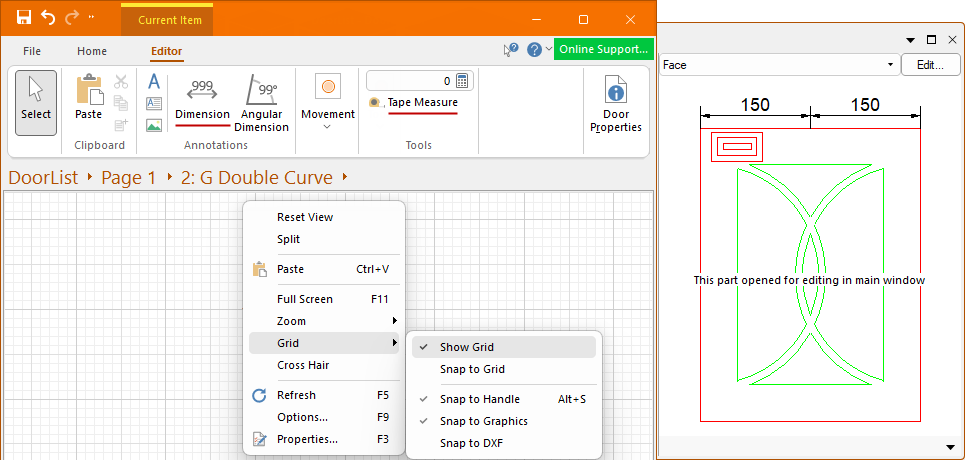
To turn on the Grid, use the menu available on the Current Item Editor page.
Also note that if you click on a Dimension or a Tape Measure tool, then these can be used when in the Machining Editor mode, as per example above.
Any dimensioning added in the main window will be displayed in the doors preview pane, as shown below right.